















What Is Bleed in Printing? A Practical File Setup Guide

If a background color or image should reach the edge of a printed piece, the artwork usually needs to extend beyond the final cutting line. That extra artwork is called bleed. Planning it before you export the file helps prevent an unintended white edge after trimming.
Use this guide as a starting point for artwork preparation. The final requirements should come from the template or production instructions for the product you are ordering.
Bleed, trim size and safe area
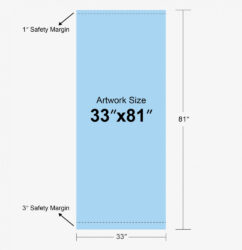
- Trim size: the intended finished dimensions after the piece is cut.
- Bleed: extra background artwork outside the trim line that can be removed during finishing.
- Safe area: space inside the trim line where important text, logos and other essential details should stay.
Adding a bleed setting alone does not extend an image. The background itself must reach the bleed boundary. At the same time, a phone number or logo should not sit against the cutting line.
Start with the product requirements
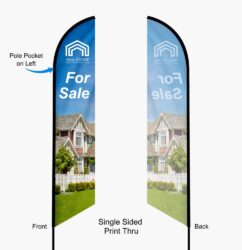
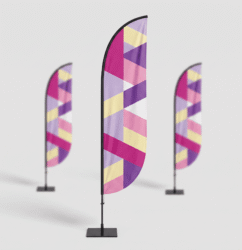
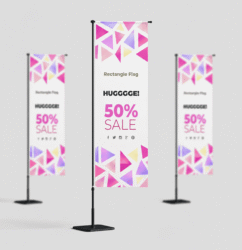
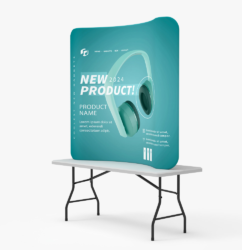
A flyer, a sewn fabric display, a wrapped panel and a contour-cut decal can require different artwork preparation. Ask for the correct template and confirm the finished size, bleed, safe area and any areas affected by folds, hems, pockets or hardware. Do not assume that one bleed measurement works for every product.
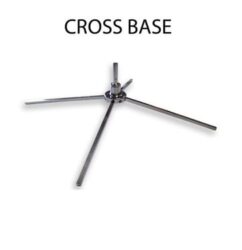
If a display graphic must fit existing hardware, provide the frame or stand model and measurements first. A familiar product name is not enough to establish the exact graphic size.
Set up bleed in Adobe InDesign
In InDesign, the Bleed and Slug controls let you define extra space around the document. For an existing document, open File > Document Setup and enter the values required for your job. Extend backgrounds and edge-to-edge images to the bleed guides.
When exporting, choose Adobe PDF (Print), use the PDF preset requested for the project, and check the bleed options in Marks and Bleeds. Include document bleed settings and add printer marks only when requested. Adobe provides a visual guide to setting and exporting bleed.
Check the exported file
Open the final PDF rather than relying only on the design file. Check that it represents the intended version and that no elements moved or disappeared during export. Review these details before sending it:
- The finished dimensions and orientation match the order.
- Background artwork extends through the required bleed.
- Important information stays within the specified safe area.
- Folds, cut lines and hardware zones follow the product template.
- Spelling, phone numbers, URLs and quantities are correct.
- Linked images, fonts and export settings have been checked.
Request a quote with the right details
Include the product, finished size, quantity, artwork and deadline in your inquiry. Mention any special finishing or installation requirements. You can explore brochure and flyer printing or browse banner options to identify a starting product.
Request a printing quote and confirm the artwork requirements for your project.


